
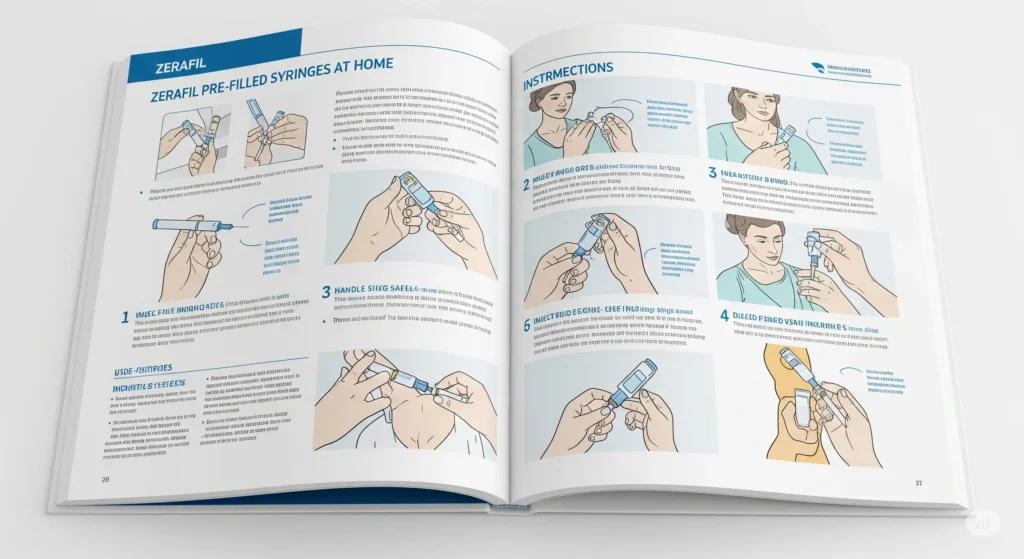
Administering medication at home can be daunting, especially if you’re new to injections. Zerafil pre-filled syringes are designed for ease of use, but proper technique is essential to ensure safety and effectiveness. This step-by-step guide will walk you through the entire process, from preparation to disposal, so you can confidently administer Zerafil at home.
1. Understanding Zerafil
Before starting, it’s important to know what Zerafil is and why it’s prescribed.
- What is Zerafil?
Zerafil is a biologic medication used to treat certain autoimmune conditions, such as rheumatoid arthritis, psoriasis, or inflammatory bowel disease. It works by targeting specific proteins in the immune system to reduce inflammation. - Storage Requirements
- Store Zerafil in the refrigerator (2°C–8°C / 36°F–46°F).
- Do not freeze or shake the syringe.
- If needed, the syringe can be left at room temperature for 15–30 minutes before injection to reduce discomfort.
2. Preparing for the Injection
Gather Your Supplies
You will need:
- Zerafil pre-filled syringe (check expiration date)
- Alcohol swabs
- Cotton ball or gauze
- Sharps disposal container
- Bandage (optional)
Choose an Injection Site
Zerafil is typically injected subcutaneously (under the skin). Common injection sites include:
- Abdomen (at least 2 inches away from the navel)
- Thigh (front or outer area)
- Upper arm (if someone else is administering the injection)
Rotate injection sites to avoid skin irritation.
Wash Your Hands
Thoroughly wash your hands with soap and water to prevent infection.
3. Preparing the Syringe
- Inspect the Syringe
- Check for any cracks or leaks.
- Ensure the liquid is clear and free of particles.
- Confirm the dose is correct.
- Remove the Cap
- Hold the syringe by the barrel (not the plunger).
- Pull the cap straight off—do not twist it.
- Check for Air Bubbles
- Small bubbles are normal and won’t harm you.
- If a large bubble is present, gently tap the syringe to move it to the top, then push the plunger slightly to expel it.
4. Administering the Injection
Step 1: Clean the Injection Site
- Use an alcohol swab to clean the skin in a circular motion.
- Let the area dry completely before injecting.
Step 2: Pinch the Skin
- Gently pinch a fold of skin at the injection site to create a firmer surface.
Step 3: Insert the Needle
- Hold the syringe like a pencil at a 45–90° angle.
- Insert the needle quickly and smoothly into the pinched skin.
Step 4: Inject the Medication
- Slowly push the plunger down until all the medication is injected.
- Wait for 5–10 seconds before removing the needle.
Step 5: Remove the Needle
- Pull the needle straight out.
- Release the pinched skin.
Step 6: Apply Pressure (If Needed)
- Use a cotton ball or gauze to apply light pressure if there’s slight bleeding.
- A small bandage can be applied if necessary.
5. After the Injection
- Dispose of the Syringe Safely
- Place the used syringe in a sharps container immediately.
- Do not recap or throw it in the regular trash.
- Monitor for Side Effects
- Common side effects include redness, swelling, or mild pain at the injection site.
- Rare but serious side effects (e.g., allergic reactions, infections) require immediate medical attention.
- Keep a Record
- Note the date, time, dose, and injection site in a journal or app.
6. Tips for a Comfortable Injection
- Numbing the Area
- Apply an ice pack before injecting to reduce pain.
- Relaxation Techniques
- Take deep breaths to stay calm.
- Rotate Injection Sites
- Prevents skin thickening or bruising.
7. When to Call a Doctor
Contact your healthcare provider if you experience:
- Severe pain, swelling, or redness at the injection site
- Fever, chills, or signs of infection
- Difficulty breathing or rash (allergic reaction)
Conclusion
Administering Zerafil at home is simple with the right preparation and technique. By following this guide, you can ensure a safe and effective injection process. Always consult your doctor or nurse if you have any concerns or need further training.
Would you like a printable checklist or video tutorial for easier reference? Let us know in the comments!